
Customizing a project: custom fields and custom voices
The Create Wizard's dropdowns are presets — sensible defaults for the common cases. But every Style, Tone, Audience and Experience Level dropdown also hides a Custom option, and that option is a doorway: it writes your own instruction straight into the AI's prompt. Pair it with a cloned voice from the Voice Library and you can steer a production well past the built-in menu — so the finished video sounds like your brand, not a template. Here is how each lever works, and how to phrase it so it actually helps.
Presets are shortcuts; Custom is a prompt
Pick a built-in Video Style like "Explainer" or a Tone like "Professional" and the wizard maps that choice to wording the planning model already understands. It is fast, predictable, and right for most videos. The catch is the ceiling: you get only what the menu offers — 15 styles, 8 tones, 13 audiences, 7 experience levels — and no brand is average enough to live entirely inside a menu.
The Custom entry at the foot of each of those dropdowns removes the ceiling. Select it and a free-text field appears; whatever you type there is handed to the AI as your instruction, in place of the preset. Treat that field as a line you are writing directly into the prompt — because that is precisely what it is.
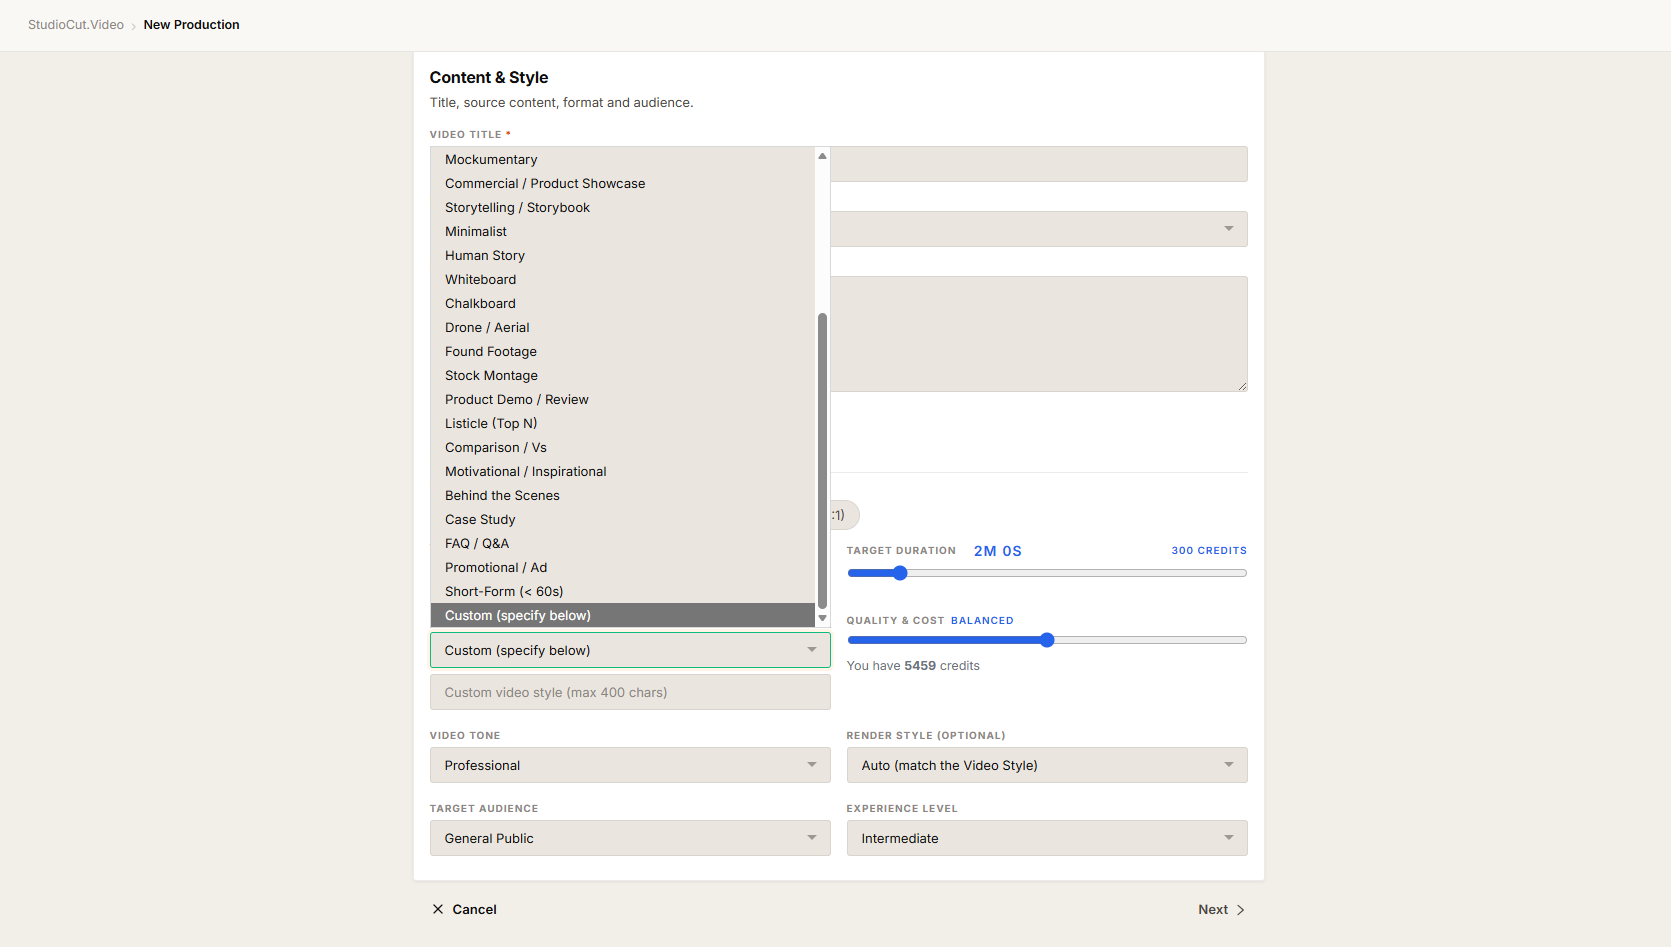
The four custom dropdown fields
Four Step 1 dropdowns share the same Custom-reveals-a-textbox pattern. Each free-text field is capped at 150 characters, which is a deliberate nudge: a custom value should be one tight instruction, not a paragraph.
| Field | What Custom is for | Limit |
|---|---|---|
| Video Style | A visual/structural treatment the 15 presets do not cover. | 150 chars |
| Video Tone | A voice-of-the-brand mood beyond the 8 presets. | 150 chars |
| Target Audience | A specific viewer group; also unlocks a longer description field (below). | 150 chars |
| Experience Level | How much prior knowledge to assume, when none of the 7 presets fit. | 150 chars |
One rule the system enforces: if you select Custom, the box cannot be left blank, whitespace-only, or numbers-only. A custom value has to be a real instruction or the production will not validate.
The Custom Audience Description textarea
Target Audience is the one dropdown that does more when set to Custom. Beyond the 150-character label field, choosing Custom reveals a separate, larger Custom Audience Description textarea. Use the short field for the label ("Indie game developers") and the textarea for the texture: what they already know, what they care about, what tone lands with them, what jargon is safe to use.
This is the highest-leverage custom field in the whole wizard. The AI's biggest single risk is misjudging who it is talking to — pitching too basic or too advanced. A precise audience description fixes that before a single scene is planned.
Good audience description: "Solo founders evaluating their first CRM. Comfortable with software but not with sales terminology. Skeptical of hype — they respond to concrete numbers and a calm, peer-to-peer tone."
Special Requirements: the catch-all instruction box
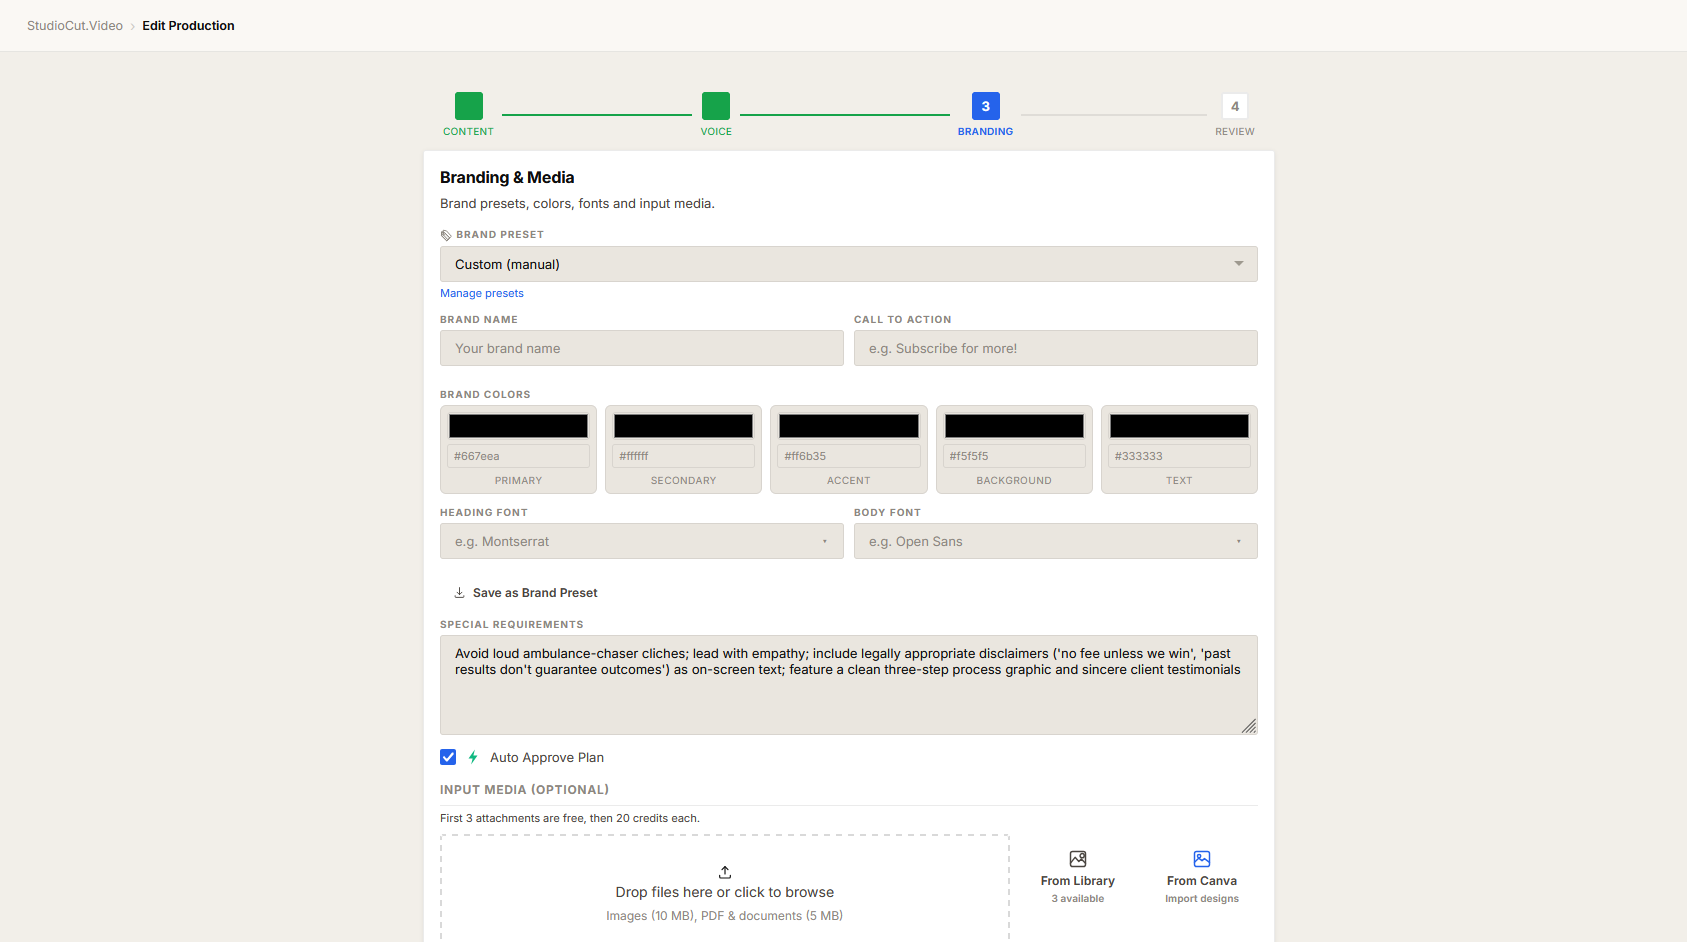
Special Requirements is a free-text textarea in Step 3 (Branding & Media). It is the place for instructions that do not belong to any single dropdown — things to include and things to avoid. The prompt text in the field says it plainly: "Any specific elements to include or avoid…"
It is the right home for instructions like "Always show the price on screen when a product is mentioned," "Do not use stock-photo handshakes," or "Open with a question, never with a definition." These are constraints that span the whole video rather than describing its style or its audience.
Per-file scene hints and AI-enhancement instructions
Custom instruction does not stop at the project level. When you add a file in the Input Media zone, each file gets its own editor with fields that steer how that specific asset is used:
- Scene hint — where or how this file should appear ("Use as the background for the intro scene").
- Must-include — a flag that tells the AI this asset has to land somewhere in the video, not just be available.
- AI-enhance — a flag to let the AI clean up or restyle the asset.
- AI-enhancement instructions — free text describing the enhancement ("Brighten and crop to remove the desk clutter on the left").
These are the most targeted custom fields available: instead of describing the whole video, they describe one image's job in it.
How to phrase a custom field — and how not to
A custom field only helps if the AI can act on it. The difference between a useful instruction and a useless one is concreteness.
| Don't | Why it fails | Do |
|---|---|---|
| "Make it good and engaging." | Too vague — every video already aims for this; it carries no information. | "Fast cuts, on-screen captions for every line, no narration pauses longer than one second." |
| "Calm and relaxing but also high-energy and exciting." | Contradictory — the AI cannot satisfy both, so it picks one at random. | "Calm, measured pacing with one energetic payoff line at the end." |
| A 150-character field stuffed with five separate demands. | Over-stuffed — competing instructions dilute each other. | One instruction per field; push the rest into Special Requirements. |
| "Don't make it boring." | Negative and vague — tells the AI what to avoid but not what to do. | "Open with a surprising statistic in the first three seconds." |
Three habits cover most of it: be concrete (describe an observable result), be consistent (no instruction should fight another), and be singular (one idea per field). When you have several things to say, the Special Requirements box is the place to list them — not a 150-character label field.
Custom voices: bringing your own voice into Step 2
This section covers adding a voice; for choosing between voices, previewing them and tuning delivery, see Pick a voice, or bring your own.
Step 2's voice picker shows a catalogue: the built-in Gemini voices plus any custom voices you have added. Built-in voices need no setup. To use a voice that is not on the menu — a voice you cloned or saved in your ElevenLabs account — you add it through the Voice Library, and from then on it appears in the wizard like any other voice.
Open the Voice Library from the sidebar (or /voice_library). It has three tabs: My Voices (your curated favourites), Agency Voices (shared with your team, if you are in an agency), and Browse Catalog (the full searchable list). Custom voices are added with a dedicated form.
What to capture: The Voice Library page with the three tabs (My Voices, Agency Voices, Browse Catalog) visible, and the add-custom-voice form open showing the Provider, Voice ID, Name and Notes fields.
The custom-voice form
The form asks for four things:
- Provider — ElevenLabs.
- Voice ID — the ID copied from your ElevenLabs library (for example
21m00Tcm4TlvDq8ikWAM). - Name — the display name shown in the wizard's voice picker.
- Notes — for your own reference, e.g. "Cloned from CEO recording, 30 min source."
Once saved, the voice lands in My Voices and is selectable in any new production's Step 2. Custom voices require an ElevenLabs account and the Enterprise plan, which is the tier that includes ElevenLabs.
Heads up: voice availability is per-language. Some custom voices only cover a subset of the 24 supported languages — the wizard greys out a voice that does not support the language you have selected. Preview a voice with a longer sample before committing it to a long video; five seconds of preview can hide monotony.
What stays editable after Phase 1
Customization is not a one-shot decision at creation time. After a production is created, the Edit Production screen reopens nearly the entire surface — Content & Style, Voice & Audio, Branding, Special Requirements, and Input Media — including every custom free-text field and the voice picker. If you realise the audience description was too vague or want to swap in a different custom voice, you can.
Two practical limits apply. The Quality tier locks once the production starts running, and Skip Voiceover is fixed for the life of the production — you cannot add narration later without recreating. Everything else is fair game for editing while the production is in an editable state.
Further reading
- The Create Wizard — every field of all four steps, in order.
- Voice Library — curating voices and adding custom ElevenLabs voices.
- Brand Library — save brand presets so Step 3 is one click.
Make every video sound like you
Custom styles, custom audiences, your own cloned voice — then a finished, publish-ready video you approve once, at the storyboard. Start free and tune your first production.
Get Started Free